
Creating a Virtual Asset
A virtual asset uniquely represents all cars in stock (physical assets) of the same make, model, and variant. When customers create a booking on the website, they are creating the booking request against the virtual asset. This article explains how the Ops user adds a new virtual asset to the system.
- Go to the Assets Module. By default, we are on the virtual asset Tab.
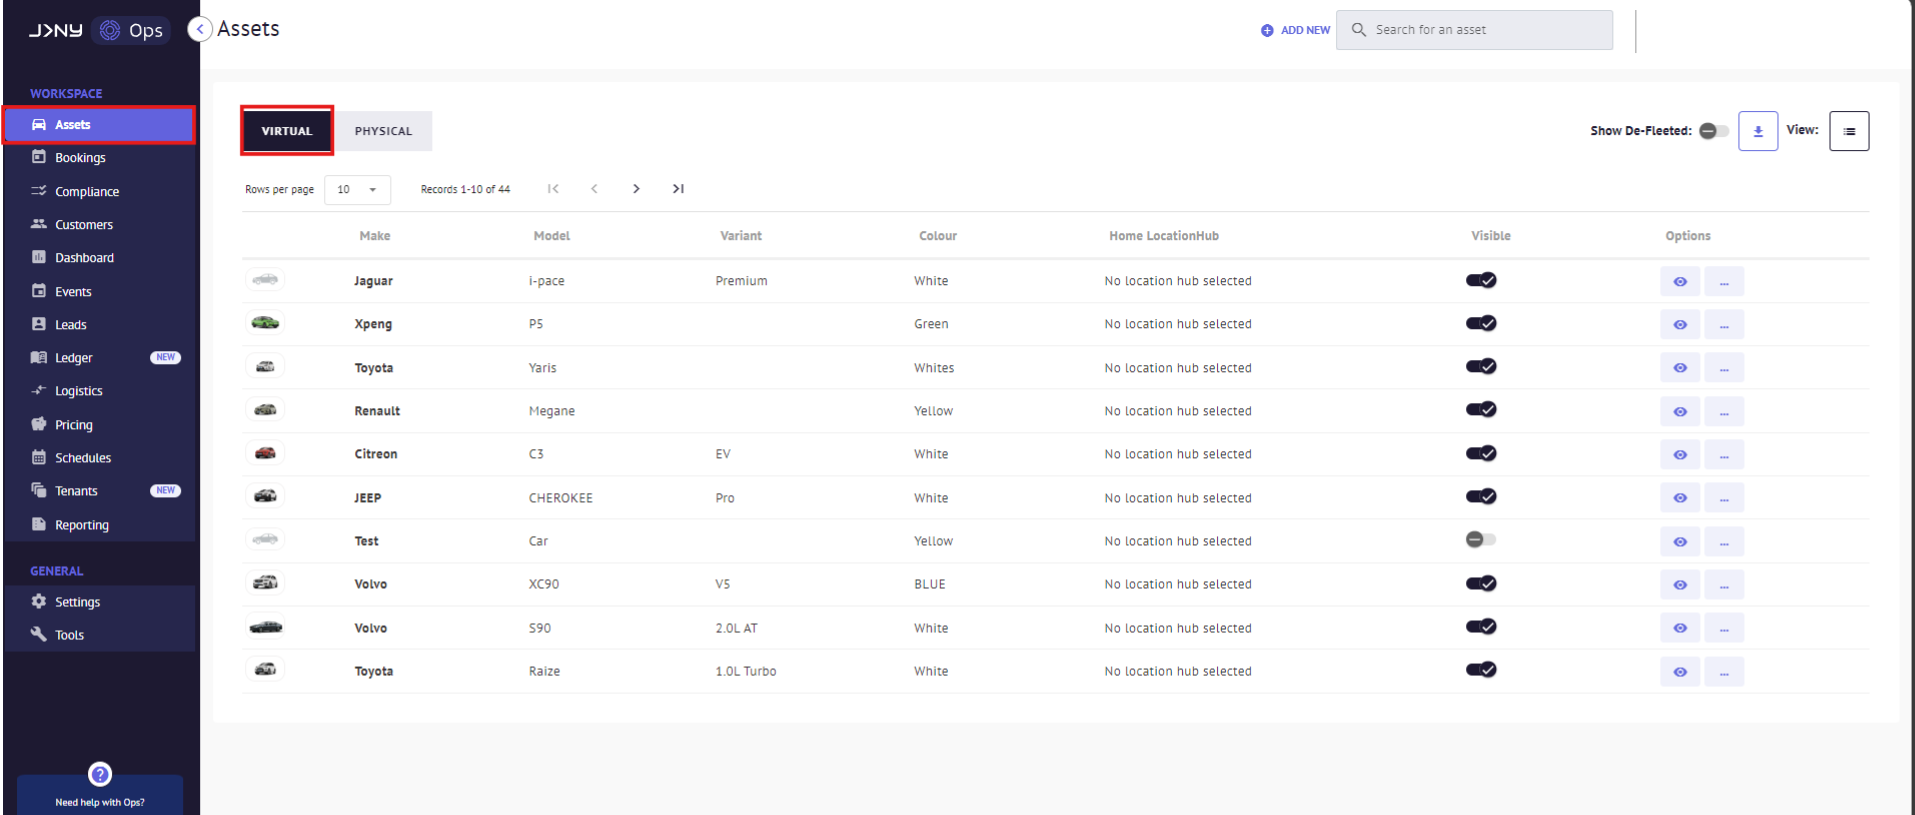
- Click on the '+ Add New' button on the top panel.

- Pick the button for Virtual asset, complete the details of the Virtual Asset and Click 'Save'.


- Add asset properties by clicking '+Add New' to open a list of asset properties.


- Choose an asset property, enter its value, and click the 'Add' button to include the asset property in the asset.

- Click on the 'Next' button after adding asset properties to your asset.

- Add the pricing of the asset by clicking the eye button to enable and edit the pricing field.
Click Next after editing the pricing detail.

- You can click the check box to add the asset to the fleet if there is a tenant or click 'Skip' to progress.

- The confirmation Modal opens seeking confirmation of creating the asset. Click 'OK' to confirm

- We get the message that the Asset has been added successfully.

If you use Imaginstudios images and don't have access to your own dashboard, please reach out to Support who will supply the image(s).
Article by Roshel Jose
Please note:
- The JRNY platform is constantly evolving and new features and functionalities are added all the time. We are constantly updating the Knowledge Base, but some instructions and/or images you see in these articles may vary slightly from what you can see in your own environment. Get in touch with support@tomorrowsjourney.co.uk when in doubt.
- Some features and functionalities may require configurations or additional development to work in your environment. Please speak to us if you have any questions.