
Creating a New Customer
This article illustrates how an Ops user can create a customer on JRNY Ops. We recommend customers verify themselves before making a booking request.
- Log in to the Back Office platform, navigate to the left Panel, and Click on the 'Customer' Module.
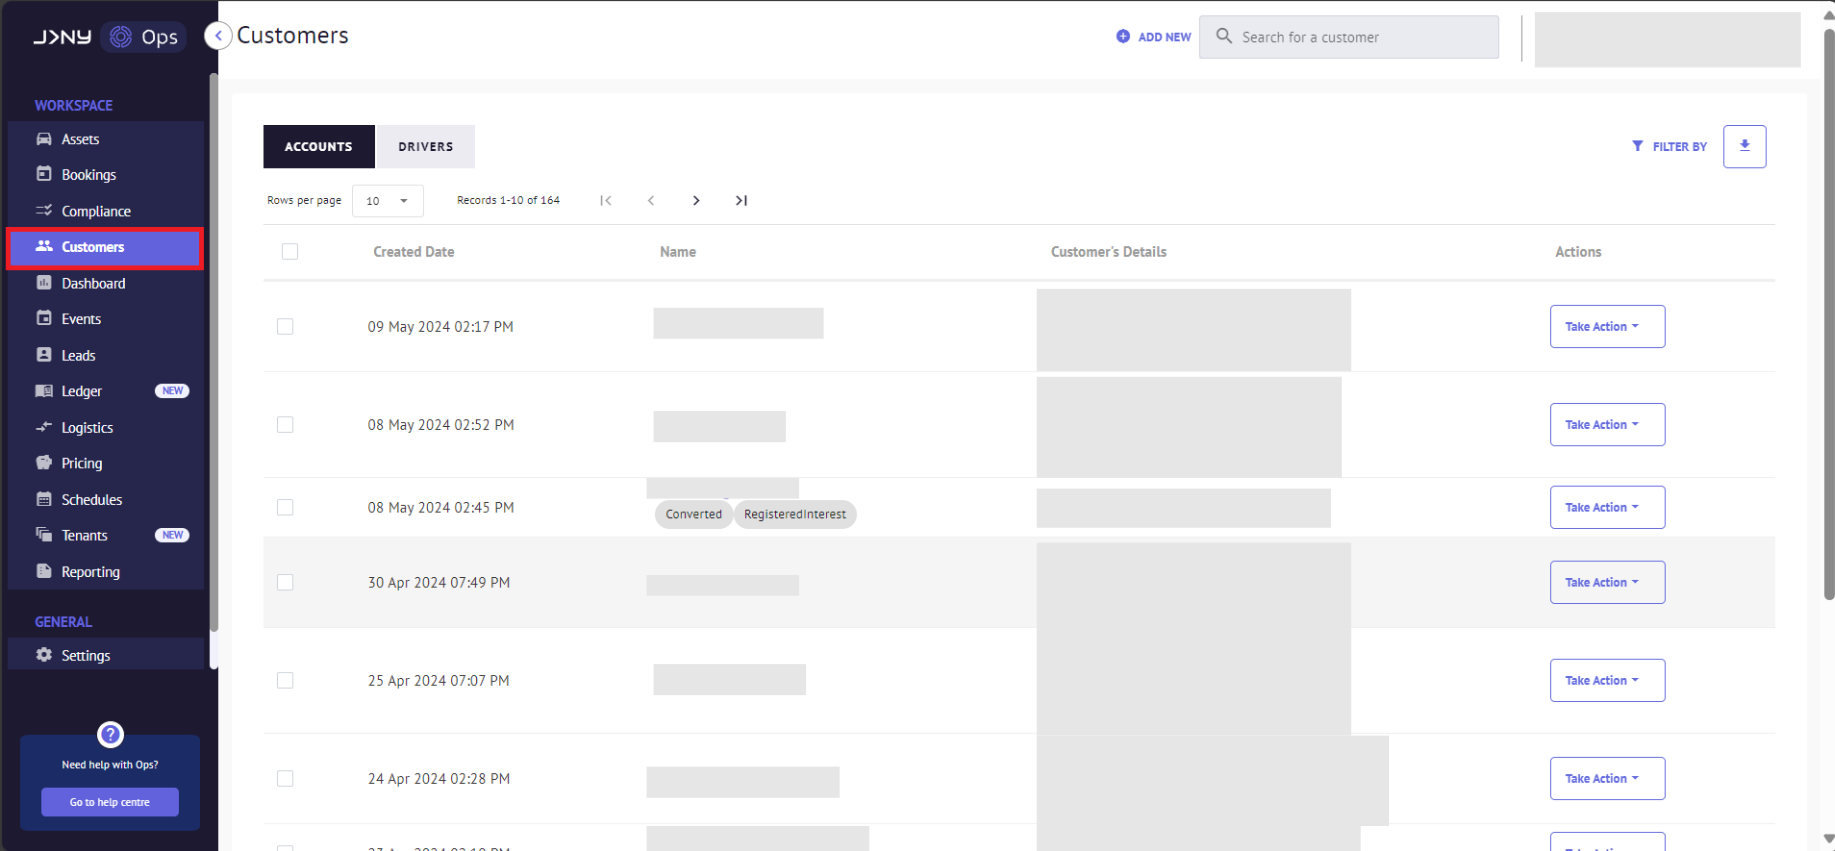
Understanding the Customer Page: When accessing the Customer Page, There is a toggle to switch between "Accounts" and "Drivers."

- Accounts Toggle: This displays customer accounts. Note that one account can have multiple associated drivers.
- Drivers Toggle: Toggling to "Drivers" shows a complete list of drivers across all accounts, offering an overview of the entire driver base connected to your service.
2. Click the Accounts Toggle and then the + Add New button on the top to open the customer registration form.

- Please check the box to include the customer as a primary driver and complete the form. Then click 'Save Customer' to register.

- A toast notification at the bottom of the screen and a green notification on the modal confirm that the new customer has been created.

Article by Roshel Jose
Please note:
- The JRNY platform is constantly evolving and new features and functionalities are added all the time. We are constantly updating the Knowledge Base, but some instructions and/or images you see in these articles may vary slightly from what you can see in your own environment. Get in touch with support@tomorrowsjourney.co.uk when in doubt.
- Some features and functionalities may require configurations or additional development to work in your environment. Please speak to us if you have any questions.