
Creating a Charge Item
Here are the steps to set up a charge item in the back office:
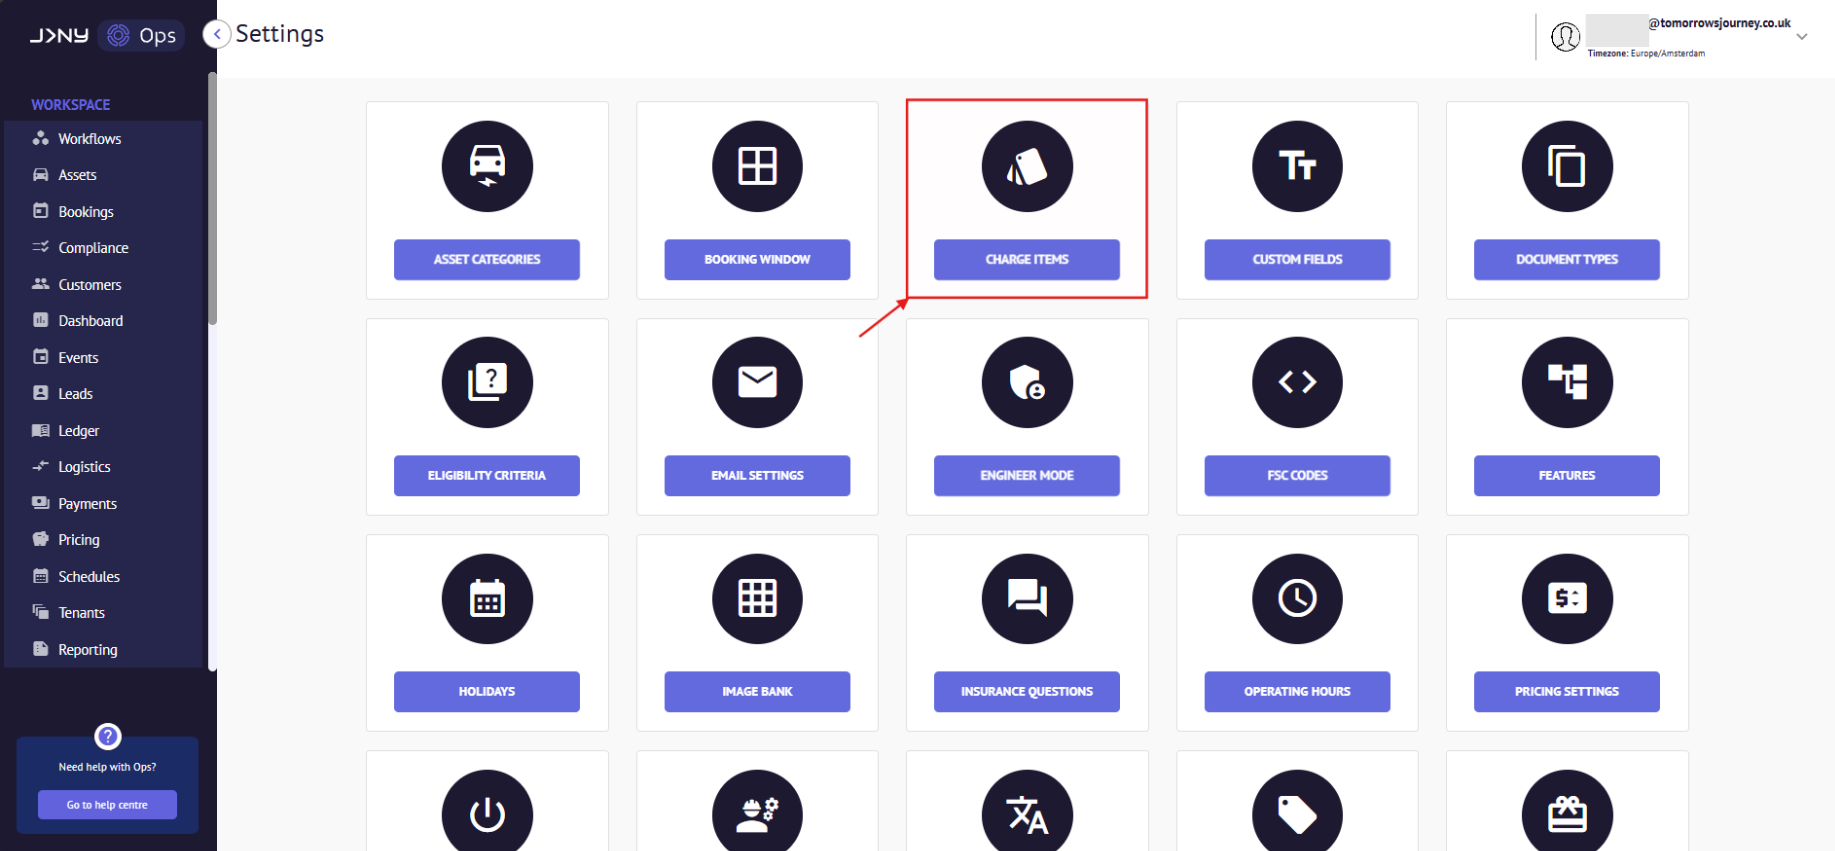
- Go to the Settings Module and click the 'Charge Item' feature.
- Click on the '+ Add New' button on the top panel.

- Fill out the 'Add charge Item' Modal.


Notes:
- Price type: you can choose from two price types:
- Fixed: This charge item is a one-time fee that will apply to the first bill payment.
- Recurring: This charge item will be added to every billing cycle.
- Tax Rate: enter the tax rate (if applicable).
- Tax Code: choose the relevant option from the dropdown - not mandatory
- Nett & Gross Price:
- You can leave the nett and gross fields blank or add default values. Values can be overridden at the time charges are added.
- If you have the nett price and need to calculate the gross price based on the tax percentage added, add the nett value and then click "Calculate" next to the gross field. Do the opposite to calculate the nett price.
- Type: This field allows the back office user to let the charge be:
- General: This charge applies to all assets across the website.
- Asset: This charge can be enabled on individual assets and contains different asset-specific values.
- Category: This field allows the back office user to control the visibility of this charge item in the following areas of the system:
- All: The charge is visible on both Demand and Ops.
- Back office: This charge will only be displayed in the Ops - please use this option for charge items.
- Handover: This charge will be visible only in the off-hire handover form.
-
Mandatory Check box: this marks the charge as mandatory on Demand. This can be ignored for creating charge items.
-
Click save - you will now see the new charge item in the dropdown when adding a charge in Ledger.

