
Creating a Physical Asset: Dropdowns
The create asset workflow is customisable and can vary from client to client.
This article will cover how to create an asset with dropdowns.
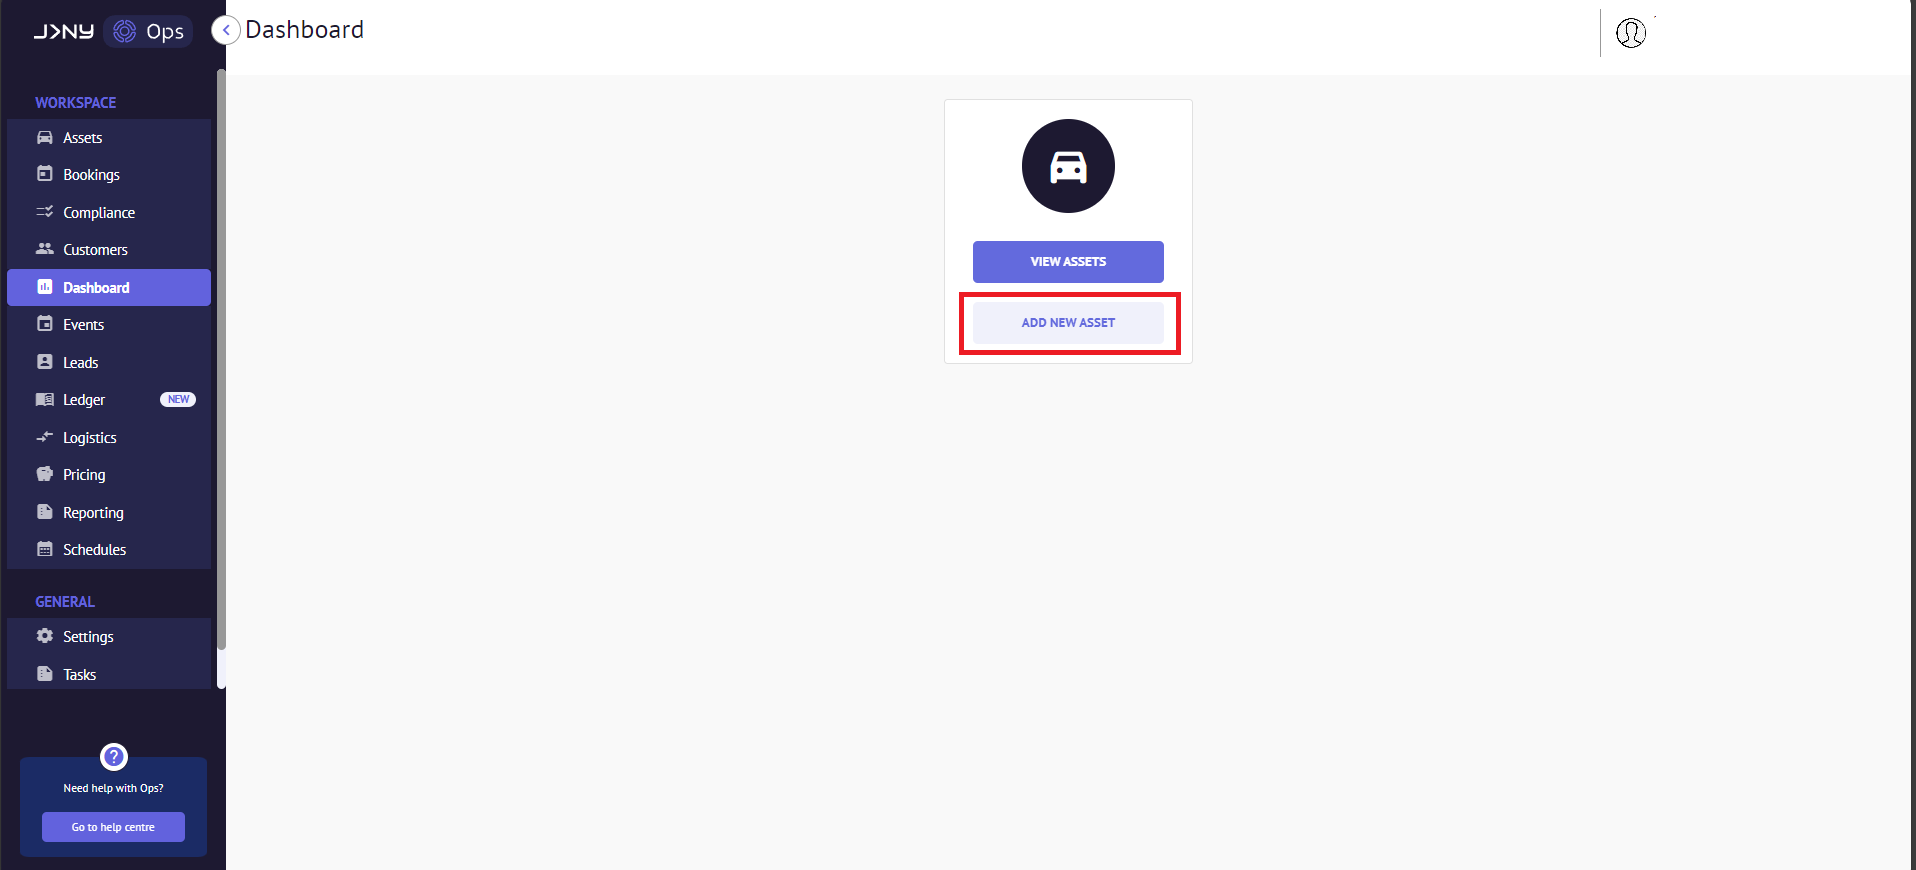
- When you access the back office, you have two methods for adding an asset. Firstly, you can select "Add New Asset" in the Dashboard Module, which is visible upon logging in.
Alternatively, you may navigate to the Assets Module, toggle the Physical Asset option, and click the +Add New button at the top, which will redirect you to a new page.

- The New Asset page opens. Here, you can fill in the asset's details, such as registration in the Asset Identifier field, make, model, variant, and colour, and set the status to available or disabled.
Setting the status as 'Available' makes the asset available for booking, while selecting 'Disabled' restricts the asset from being booked.

- After filling out the details, click "Next" to add specific asset properties; you can add as many properties as you want. Follow this link to learn how to add an Asset Property. Click Next to progress to the next steps.

- Skip Select Asset Image

- Link new asset to its corresponding virtual asset.
Click Skip if there are no virtual assets to be linked.

- Check the box next to the Fleet Name, click Next, and a dialogue box appears with the message asking for confirmation to create this new asset for you.


- When you click Okay, the asset is created. You can find it by going to the assets module and switching to the Physical Asset Toggle.

If you have a lot of Physical assets, you can search for your new asset by typing either the asset register number or the type of asset in the search box to narrow down your results.
Article by Roshel Jose
Please note:
- The JRNY platform is constantly evolving and new features and functionalities are added all the time. We are constantly updating the Knowledge Base, but some instructions and/or images you see in these articles may vary slightly from what you can see in your own environment. Get in touch with support@tomorrowsjourney.co.uk when in doubt.
- Some features and functionalities may require configurations or additional development to work in your environment. Please speak to us if you have any questions.