
Create a Physical Asset: Lookup
The create asset workflow is customisable and can vary from client to client.
In this article, we will learn how to create a physical asset in the back office using the Lookup function.
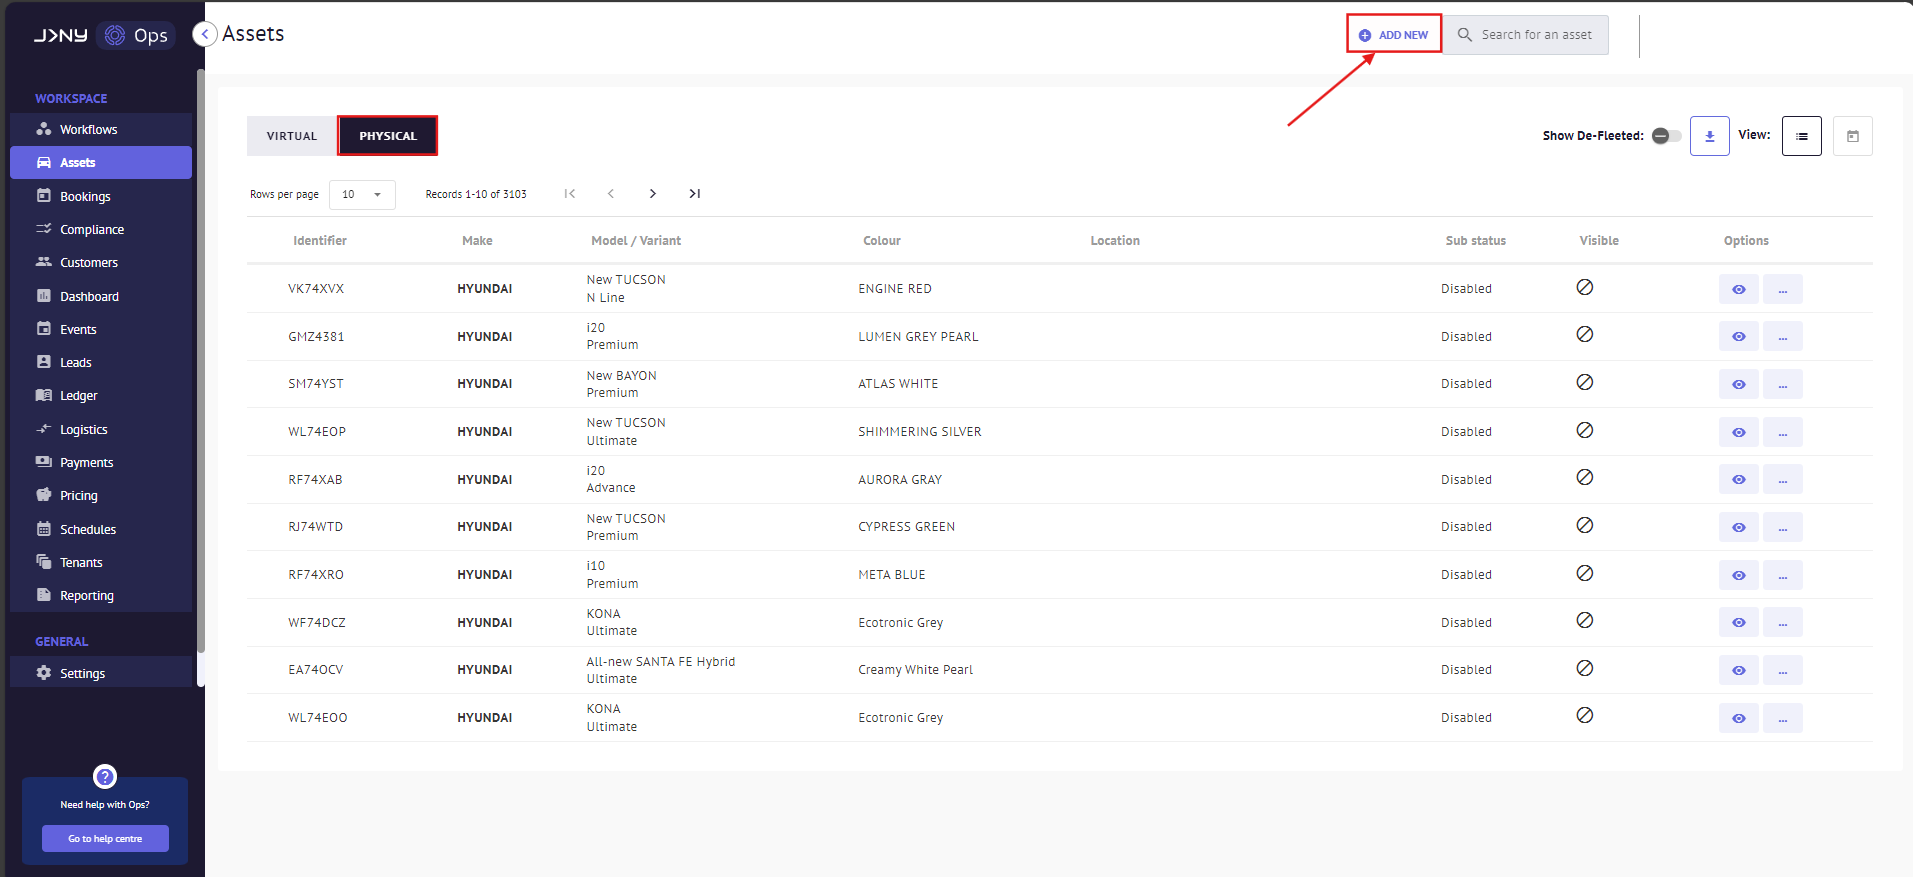
- Log in to Ops, click the "Assets" module in the sidebar, and then click +Add New at the top.
Click the physical asset button to get the form.

- Enter the asset registration number in the Asset Identifier Field and click 'Lookup.' Please note that the Lookup function does not always pull the data through; sometimes, you must fill it out manually.

- Change the Status to 'Available' in the Status Dropdown,
Setting the status as 'Available' makes the asset available for booking, while selecting 'Disabled' restricts the asset from being booked.

- Choose the Category from the dropdown, and click 'Next.'

- We are now on the Assets properties page, which would have already been prefilled with the asset properties as we used the Lookup function.

Follow this link to learn how to add more asset properties. Click 'Next' to proceed.
- Please select the consumer - default option from the dropdown menu on the right side. This action will display the pricing matrix.

- Click on the eye icon to activate the input field; the orange field will change to white, enabling you to input the price. Input price details and click 'Next'.

- This section allows you to connect your asset to a fleet. If your fleet is listed here, mark the check box to make it available. Please skip if no fleet is listed.

- Click the OK button to confirm the asset's creation on the confirmation Modal.

- We see the confirmation on our screen.

- To locate the asset we have generated, navigate to the Assets Module, toggle the Physical Assets option, and input the asset register number into the search field.

Article by Roshel Jose
Please note:
- The JRNY platform is constantly evolving and new features and functionalities are added all the time. We are constantly updating the Knowledge Base, but some instructions and/or images you see in these articles may vary slightly from what you can see in your own environment. Get in touch with support@tomorrowsjourney.co.uk when in doubt.
- Some features and functionalities may require configurations or additional development to work in your environment. Please speak to us if you have any questions.